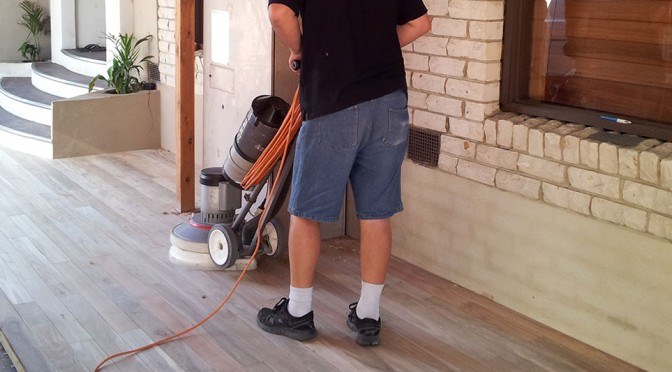
Sanding wood is easy, right? You just grab a piece of sandpaper and sand away all the rough and uneven surfaces…
There’s actually much more to it than that to ensure you achieve a professional sanding job every time.
Sanding Tips and Tricks
Before you get into creating the professional sanding finish, there are a few things you’ll need to consider about the materials you’re using:
What kind of wood are you sanding?
The type of wood that you’re sanding will have a bearing on the type of sanding material that you need to use. Some wood, like pine or cedar, will sand much more easily as it’s softer, so you’ll need to use a lighter sanding material. Harder wood like maple or oak will require a coarser grit to sand effectively.
What effect are you going for?
You might be going for a modern, minimalist style, meaning you need a smooth surface. Shining a bright light against your wood or running a nylon sock over the surface after sanding will help you to pick up any imperfections.
Equally though, you might be looking at shabby chic – in which case, some bumps might add to your effect.
Remember that coarse grit in your sander will remove more of the wood’s surface, whereas a finer grit might leave some of those larger dints.
Why do you need to sand your wood?
Are you sanding the wood because it’s old and needs a new look? Do you want to repaint, but there’s too much varnish on there, or is it new wood that you need to shape to create something? Typically, older wood will require a gentler hand, so a belt sander won’t be the best choice.
The Best Ways to Sand
Working out how to complete the best sanding job can be confusing. You need to understand which tools work best for which projects to obtain the ultimate finish.
- Sandpaper – Sandpaper is the easiest and cheapest option. It comes in a couple of different types depending on how tough your wood is. For harder woods or for removing varnish, you’ll need to choose sandpaper with a coarser grit. The fine-grit sandpaper is better to use on detailed pieces or to finish off an already smooth piece.
- Sanding Sponge – Sanding sponges work well for sanding around detail. They’re flexible and bend to your hand shape, meaning you can get into all those nooks and crannies.
- Belt Sander – A belt sander is designed for a more professional or larger scale sanding job. They’re amazing for covering large areas but shouldn’t be used in detail.
- Orbital Sander – Orbital sanders work with a circular mechanism and are best used for large, flat areas to sand vertically, such as walls, cupboards, or doors. They shouldn’t be used on smaller items as this can cause damage.
Sanding your wood makes it easier to paint, varnish, and refresh the design. It’s an essential part of upcycling that will ultimately make your furniture look new for longer.
Contact Us
We hope that our blog has been informative, please don’t hesitate to give us a call on 020 8427 6604 or head over to our contact page to fill in our online enquiry form.

