Floor Sanding Tips and Tricks
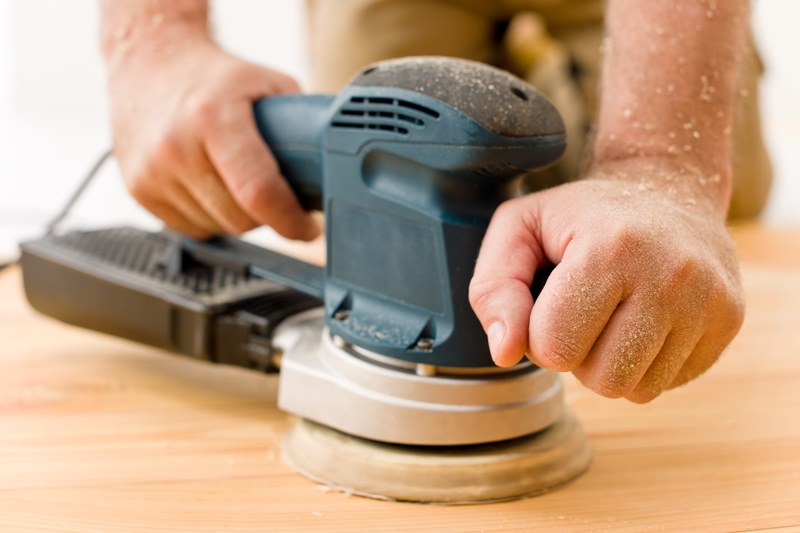
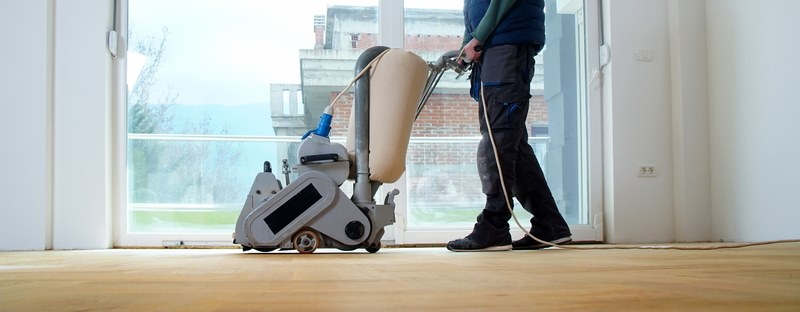
Any hardwood floor with serious problems like protrusions, discolouration and groove and pits can only be restored to its original glory through sanding. There are various types of floor sanders that one can use for this task. These are orbital sanders, edgers and drum sanders. Choosing the most appropriate of the three sanders is vital in ensuring that the completed work on your floor is outstanding. Of the three, the most effective type for most homeowners has been found out to be the drum sander. This is because it’s effective, irrespective of the condition of the floor. However, to achieve a great finish for your floor, the following tips and tricks are very vital in the process:

Hire a Drum Sander
The drum sanders are very expensive pieces of equipment that most people may not want to buy for themselves. The main reason behind this is the fact that there’s only one job for this equipment; sanding down your wooden floor. The most cost-effective option is to hire one whenever you need it from rental centres and yards which usually have them for hire.
Ensure you have enough sandpaper
When renting the drum sander, ask the rental company to advise you on how much sandpaper you should purchase. So long as you have enough to do the job, there shouldn’t be a need for you to go and buy more paper during the project.
Sandpaper on the Drum Sander
Ask the rental company to put your first Sandpaper on the Drum Sander for you It’s very likely that as a homeowner, you’re not familiar with the process of successfully putting sandpaper on the drum sander. So, ask the rental company to put the first one as you watch so that you can learn to do it yourself later.
Get assistance to lift the Drum Sander
Given that a drum sander weighs well over 100 pounds, it’s better for you not to attempt lifting it single-handedly. A rental company employee or a friend should help you get it into your carriage. The same help is also necessary for offloading the drum sander once you get home.
Avoid Using Extension Cords
The only extension cords that you use on the drum sander should be those permitted by the manufacturer or the one attached to it. This is necessary to avoid fire resulting from the sander drawing too much power which can melt a power extension cord that isn’t of the proper size.

Safety Equipment
Use Safety Glasses, Hearing Protection, and Dust Mask even if you’re used to working without putting on safety equipment, sanding is a task that you shouldn’t do the same for. The dust bag doesn’t collect all the dust produced during the task. You must also make sure you have safety glasses on. When they hit nails, the drum sanders create sparks that can shoot into your eyes and cause harm to you.
Sand in the Opposite Direction
Sand in the opposite direction to the motion of the drum, the drum sander is to be pulled and not pushed. This means that the motion of the drum is opposite that of how the drum sander is moved. Be careful and don’t get close to the walls, doors, trims baseboards and other such elements that aren’t sanded.
